Enriching an Existing Collection
If you already have a local music folder — years of purchases, promos, and downloads — Kombiner can import it, read your existing tags, and then use enrichment plugins to fill in whatever metadata is missing or incomplete. This guide walks through the full process.
Step 1 — Import Your Local Folder
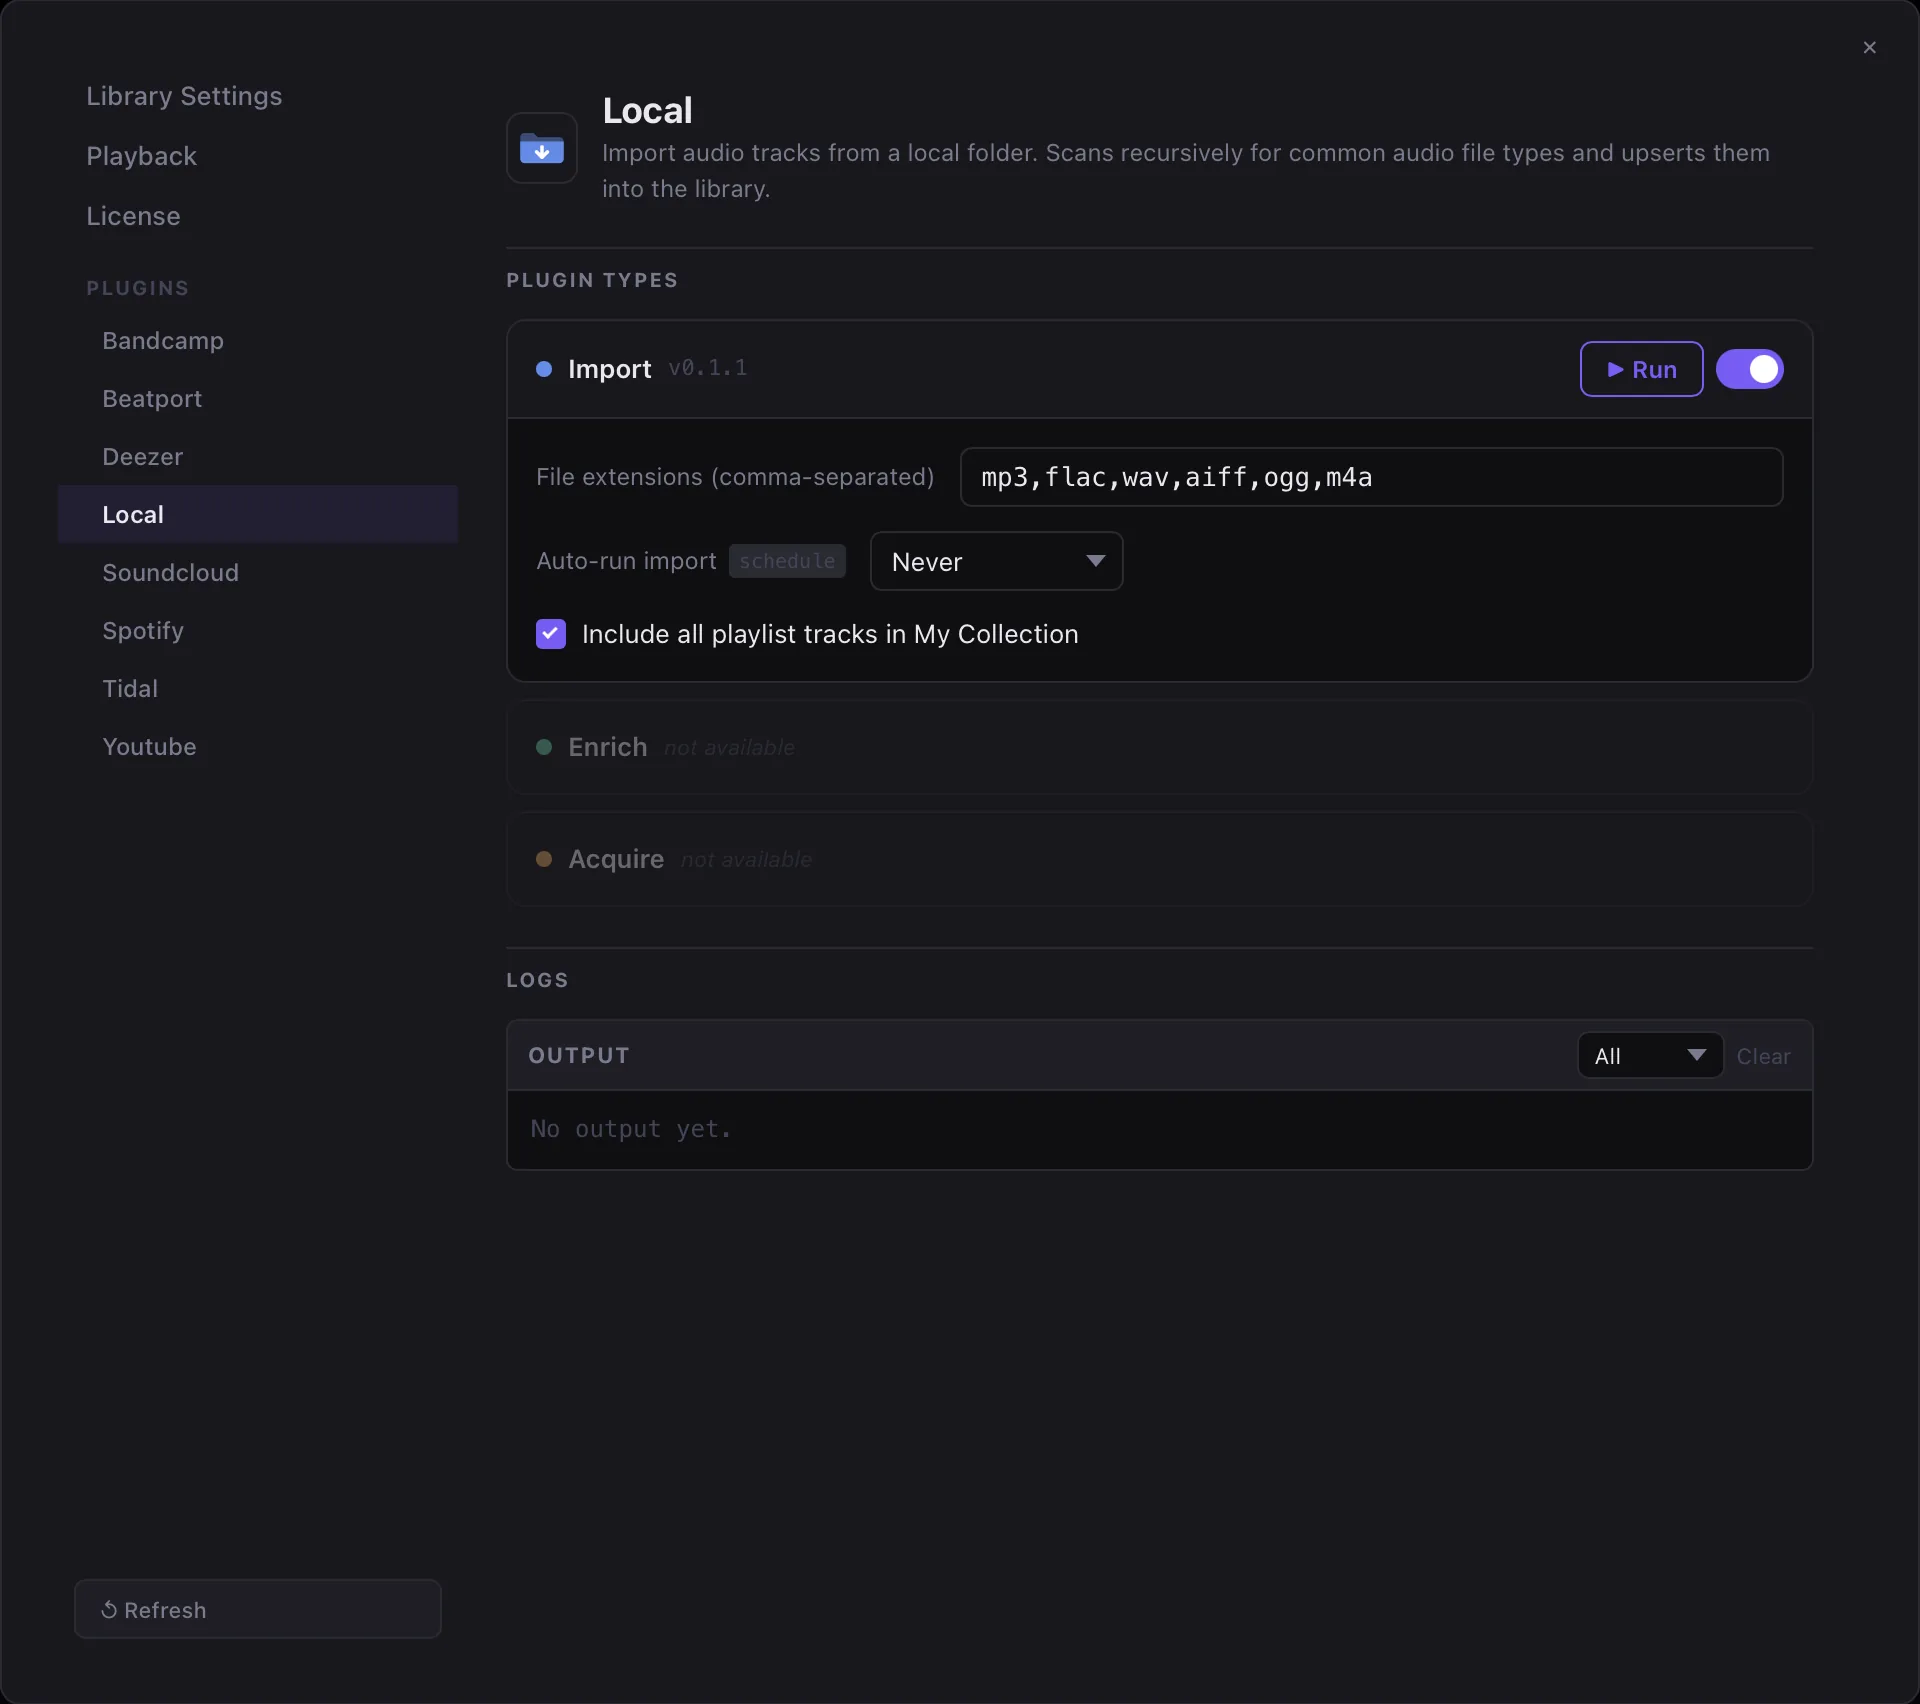
Kombiner’s Local Import plugin scans a directory on disk and adds every audio file it finds to your library as a track record.
- Navigate to Settings → Library.
- Set your music folder to the directory where your existing music is stored.
- Go to Plugins and enable the Local Import plugin then run the import.
Tip: If your music folder is large (tens of thousands of files), the first scan can take several minutes. It reads each file’s tags — not just the filename — so the import is I/O-bound. Subsequent scans are incremental thanks to the cursor system and run much faster.
Step 2 — Existing Tags Are Preserved
When the Local Import plugin processes a file, it reads its embedded tags using ID3 (for MP3) or Vorbis Comments (for FLAC/OGG/WAV) and pre-populates the track record in Kombiner’s database. This means you don’t lose work you’ve already done in other tools.
The following fields are read from file tags:
- Title, Artist, Album, Year — from standard ID3/Vorbis tags
- BPM — from the
TBPM(ID3) orBPM(Vorbis) tag, if present - Key — from the
TKEY(ID3) orINITIALKEY(Vorbis) tag, if present - Genre — from the
TCON/GENREtag - Label — from the
TPUB/ORGANIZATIONtag
Fields that are missing from the file tags are left blank in the track record and are ideal targets for enrichment.
The following information is analyzed if no file tags are present:
- BPM — from the file’s audio content
- Key — from the file’s audio content
Step 3 — Run Beatport Enrich for Missing Metadata
Beatport is the most complete catalog for electronic music. Running the Beatport Enrich plugin after a local import will fill in BPM, key, genre, and label for any track that has a Beatport catalog entry.
- Enable and configure the Beatport Enrich plugin (enter your Beatport credentials in the plugin settings).
- Select tracks that need enrichment (using special filter Without Genre).
- The plugin matches each track against the Beatport catalog using title + artist. Matches are stored as enrichment records with status
done.
For tracks it cannot find (status not_found), the Beatport catalog simply doesn’t carry that release — this is common for promos, white labels, and non-electronic music. Other enrich plugins may still be able to find these tracks.
Step 4 — Run Spotify Enrich for Play Counts
The Spotify Enrich plugin retrieves play counts (popularity score).
- Click Spotify Enrich → Enable.
- Enter your Spotify email (if you haven’t already set for spotify import).
- Set Auto-Run and Update Every to your preference.
- On first run, in-app browser will open to authenticate with 6-digit code.
Step 5 — Run YouTube Enrich for Popularity Data
The YouTube Enrich plugin searches YouTube for each track and retrieves view counts. This is particularly useful for understanding the popularity of tracks outside the streaming ecosystem — DJ edits, remixes, and underground releases often have more YouTube traction than Spotify plays.
- Enable the YouTube Enrich plugin — no configuration needed.
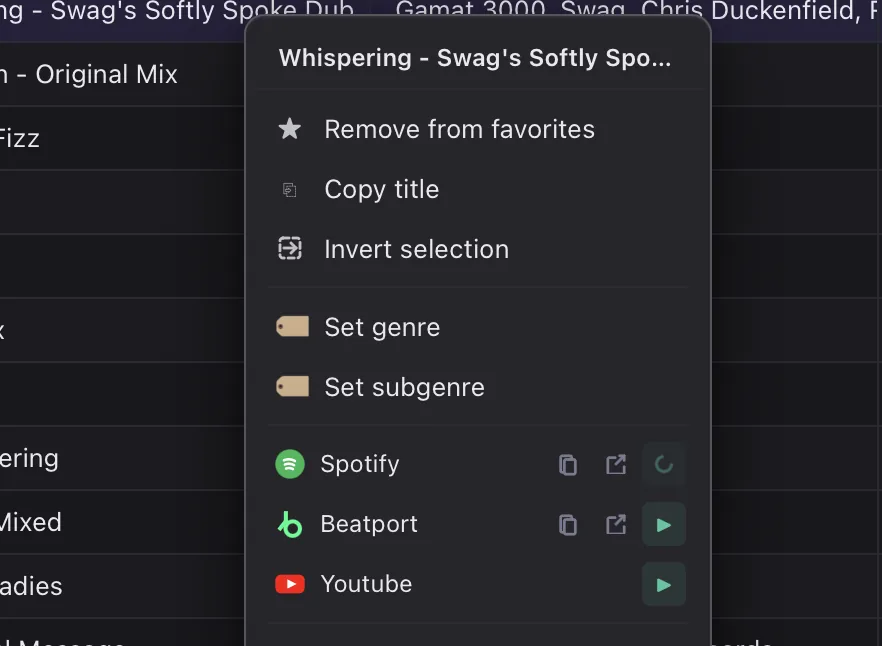
- Select tracks and click Run with YouTube Enrich in context menu.
- View counts are stored as enrichment data per track and surfaced in the track detail panel.
Step 6 — Review Enrichment Coverage
After running all three enrichment plugins, review the enrichment status badges in the toolbar. These badges appear as N / M counters for each plugin column:
| Badge | Meaning |
|---|---|
| 4,823 / 5,000 | 4,823 tracks enriched, 177 pending or not found |
| 0 / 5,000 | Plugin hasn’t run yet |
Click any badge to filter the table to tracks with that specific enrichment status, making it easy to focus on incomplete records.
For tracks with error status, hover over the badge to see the error message. Most errors are transient (rate limit, network timeout) and resolve by re-running enrichment. For tracks with not_found, the catalog simply doesn’t have a match — no further action is needed unless you want to manually fill in the fields.